Posts Tagged ‘HC’
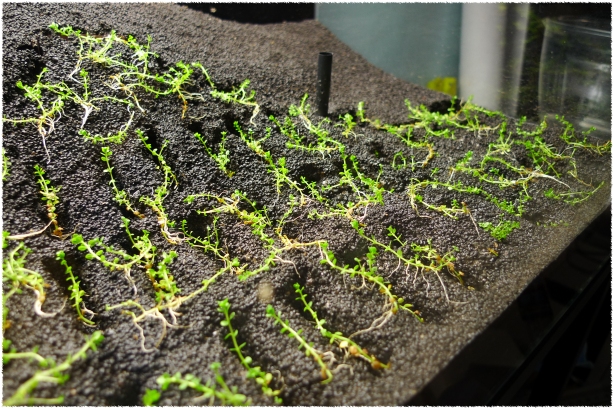
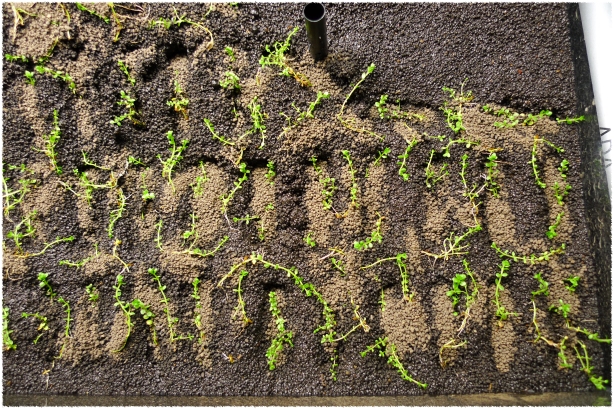
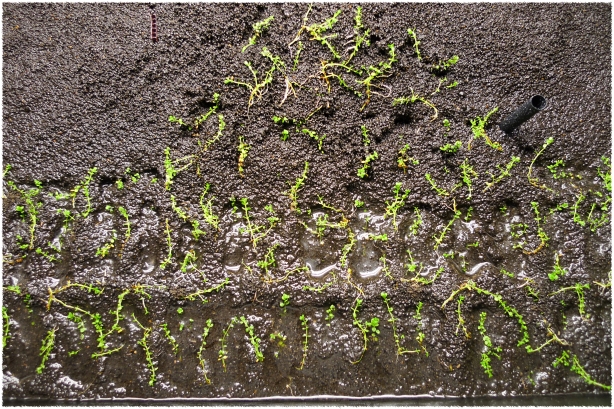
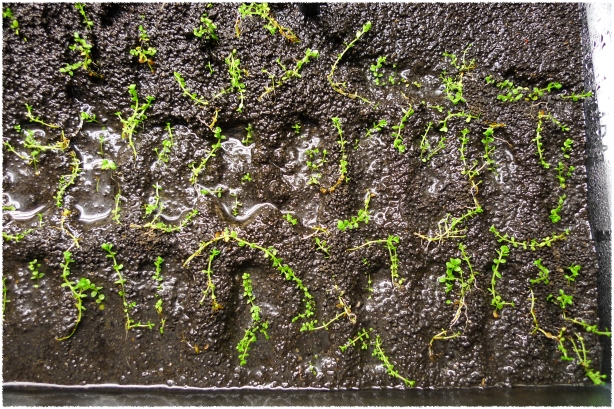
4 days later – 03 March 2012 [0207H]
Posted: March 3, 2012 by ralliart12 in ~ § Aquascape § ~Tags: ADA, aqua, arcadia, barr, callitrichoides, dry, DSM, HC, hemianthus, method, osram, scheduled, soil, start, substrate, tom
3 days later – 02 March 2012 [0838H]
Posted: March 2, 2012 by ralliart12 in ~ § Aquascape § ~Tags: ADA, aqua, arcadia, barr, callitrichoides, dry, DSM, HC, hemianthus, method, osram, scheduled, soil, start, substrate, tom
2 days later – 01 March 2012 [0056H]
Posted: March 1, 2012 by ralliart12 in ~ § Aquascape § ~Tags: ADA, aqua, arcadia, barr, callitrichoides, dry, DSM, HC, hemianthus, method, osram, scheduled, soil, start, substrate, tom
Actual Deployment #2 – 28 Feb 2012 [0137H]
Posted: February 28, 2012 by ralliart12 in ~ § Aquascape § ~Tags: ADA, angle, apex, aqua, arcadia, attempt, barr, callitrichoides, caution, cover, damp, depression, draw, dry, DSM, gradient, groove, guideline, HC, hemianthus, maintain, method, opaquemist, osram, regular, scheduled, second, slope, soil, start, straw, substrate, support, tom, topography, try, wet
Taken. My invested effort is.
Posted: February 25, 2012 by ralliart12 in Roadblocks, ~ § Aquascape § ~Tags: ADA, angle, apex, aqua, arcadia, attempt, barr, callitrichoides, caution, cover, damp, depression, draw, dry, DSM, gradient, groove, guideline, HC, hemianthus, maintain, method, opaquemist, osram, regular, scheduled, second, slope, soil, start, straw, substrate, support, tom, topography, try, wet
I know exactly what you are. I see exactly what you want. If you are looking for latitude, I can tell you I don’t have any. But what I do have are a very generous serving of fortitude; tenacity I have acquired over some very arduous life experiences. A resilience that make me a nightmare for green scum like you. If you let my plants go now, that’ll be the end of it. I will not look for you, I will not pursue you. But if you don’t, I will look for you, I will find you, and I will eradicate you.
Well, that’s a full two-&-a-half months of solid effort gone down the gutter; but life’s short & there ain’t much time to take things lying down. So I have to proceed with implementation #2 of my Dry-Start Method learning experience. This time round, I am prepared to go the extra mile in all aspects of the deployment environment.
Precautions in execution include:
- I believe flooding is a major destroyer of yield. This time round, I will implement measures to prevent & eliminate any flooded regions.
- I believe inconsistency in humidity, temperature & moisture content invites risks of yield failure. I have to devise some mechanism to maintain most, if not all, of these attributes.
- I believe excessive lighting & lighting in the wrong places will be a potential source of ingress for algae.
- On a less critical note, I believe there are more effective & precise methods to tweak the topography of the substrate.
- Likewise, I believe extra procedures have to be in place to maintain that topography over time.
So with these new guidelines in mind, I set off to prepare the deployment ground for batch #2 of my foreground carpeting plant, the hemianthus callitrichoides.

Step 1: secure a pair of broad-diameter straws, pierce holes (using a hot paper-clip) along their length in all axis.The holes should be smaller than the size of each granule of your substrate. The straws should preferably be opaque in colour, so that at their area of insertion no light is transmitted into the substrate, i.e. concept of optic-fibre. This may sound a bit ludicrous, but note that when the lights are powered on, imagine the clear walls of transparent straws are transmitting some light constantly all the way into the substrate. In the event of extreme flooding, these straws will act as outlets where excess water is drawn out. That's is why their diameter must be able to accommodate an air tube's girth.

Step 2: Grab a bunch of Post-it notes, & list down each significant numerical aspect of the substrate, e.g. height of front edge, height of rear apex, etc. After which, stick these "labels" at their actual positions, preferably on the outer side of the tank wherever possible.
Step 3: Lay the base additive system as per the first deployment.

Step 4: Position straws vertically & slowly fill the tank with substrate. It is important to note that the lazy method of inserting the straw into the substrate after the substrate has been laid in the tank, is ill-advised as the straws will be choked & their primary purpose will be ineffective: drawing excess water from a flooded substrate.
Step 5: Scape the substrate so that its topography aligns with the various Post-it notes that are distributed around the tank.
Step 7: Mist the surface of the substrate to make it “clumpy” to facilitate further modifications to its surface.

Step 8: Drive a few pieces of bent corrugated foam boards into the higher regions of the substrate to maintain the steep slope over time. Their apexes must be facing the slope's angle of repose.

Step 9: Use a tool to create organized, regular depressions into the substrate where the plant nodes are supposed to be planted.

Step 10: Use a vessel with a pouring tip, e.g. one of those small jugs use for cooking, to pour dechlorinated (but again, not de-ammonium-ized) water into the straws gently & steadily. The effect is quite awesome when I execute Step 7. I saw water saturating the substrate from beneath it, all the way until some water peeks above the topsoil (at which point I stop pouring).
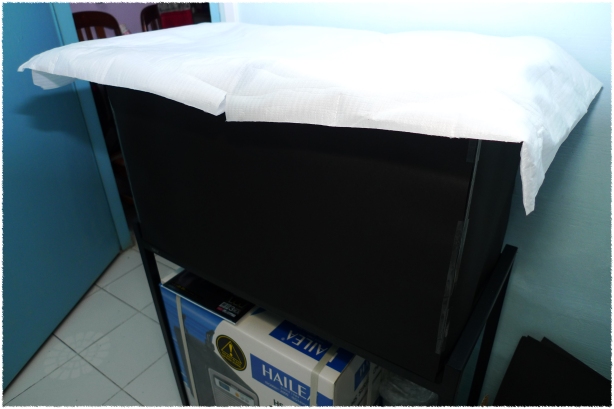
Step 11A: Cover the top of the tank with an opaque material when there is any form of visible light around. I will not allow any form of algae to have a head-start in this tank.

Step 11B: Cover the top of the tank with some mesh at night, only when there is no light in the room. This is to air the substrate to dry out excess surface water before planting. Preferably the mesh should have very fine holes so that dust in the room will not enter the tank.
And then we lie in wait…for a week or so until …


